Understanding Apertures in Photography
Whether you're capturing moments with a vintage film camera or a modern digital setup, understanding the exposure triangle; aperture, shutter speed, and ISO is fundamental to creating stunning photographs. These three elements work together to control how light interacts with your film or digital camera sensor, ultimately shaping the look and feel of your images. In this guide, we’ll focus on the often-misunderstood role of aperture, exploring not only its impact on exposure but also how it influences depth of field and the creative potential of your photography. While many tutorials emphasize aperture’s effect on brightness, we’ll dive deeper into how it shapes the area in focus, offering practical tips to elevate your skills, whether you’re a beginner or a seasoned photographer.
In this video, I discuss aperture and how it affects depth of field in your photography.
Whether you're capturing moments with a vintage film camera or a modern digital setup, understanding the exposure triangle; aperture, shutter speed, and ISO is fundamental to creating stunning photographs. These three elements work together to control how light interacts with your film or digital camera sensor, ultimately shaping the look and feel of your images. In this guide, we’ll focus on the often-misunderstood role of aperture, exploring not only its impact on exposure but also how it influences depth of field and the creative potential of your photography. While many tutorials emphasize aperture’s effect on brightness, we’ll dive deeper into how it shapes the area in focus, offering practical tips to elevate your skills, whether you’re a beginner or a seasoned photographer.
What is the Exposure Triangle?
The exposure triangle is the foundation of photography, balancing three critical settings to achieve a well-exposed image:
Aperture: Controls the size of the lens opening, affecting both the amount of light entering the camera and the depth of field.
Shutter Speed: Determines how long the camera’s sensor is exposed to light, influencing motion blur and brightness.
ISO: Adjusts the sensor’s sensitivity to light, impacting image brightness and noise levels.
Mastering these elements allows you to manipulate light creatively, ensuring your photos are neither too dark nor too bright while achieving the desired artistic effect. Let’s zoom in on aperture, as it’s one of the most powerful tools for controlling both technical and creative aspects of your images.
Aperture refers to the adjustable opening in your lens through which light/photons pass to reach the the film or scamera sensor. It’s measured in f-stops (f/1.4, f/2.8, f/8, f/11, f/16), where lower numbers indicate a larger opening and higher numbers indicate a smaller one. Aperture plays a dual role: it regulates the amount of light in your exposure and controls the depth of field, which determines how much of your image is in sharp focus.
A smaller number but larger opening aperture (e.g., f/1.8 or f/2.8) allows more light to enter, brightening your image, which is ideal for low light situations like indoor portraits or night photography. Conversely, a higher number but smaller aperture (e.g., f/11 or f/16) lets in less light, making it suitable for bright environments, such as outdoor landscapes on a sunny day. Balancing aperture with shutter speed and ISO ensures your image achieves the desired brightness without over or underexposure.
While aperture’s effect on exposure is widely discussed, its influence on depth of field is equally important and often not mentioned. Depth of field (DoF) refers to the range within your image that appears sharp and in focus. Aperture settings directly control this range, allowing you to create everything from dreamy, blurred backgrounds to crisp, detailed scenes.
Wide Aperture (Low f-stop, e.g., f/1.4 or f/2.8): A wide aperture creates a shallow depth of field, where only a small portion of the image is in focus, and the background blurs into a creamy bokeh. This is perfect for portrait photography, where you want to isolate your subject from the background, or for macro photography, emphasizing fine details. For example, with a 50mm lens set to f/2.8, the depth of field might be just a few inches when focusing on a subject a few feet away, making the subject’s eyes sharp while the background melts into beautiful bokeh.
Narrow Aperture (High f-stop, e.g., f/11 or f/16): A smaller aperture increases the depth of field, bringing more of the scene into focus. This is ideal for landscape photography, where you want both the foreground and distant mountains to be sharp, or for group shots, where everyone needs to be in focus. However, smaller apertures require more light or adjustments to shutter speed and ISO to maintain proper exposure.
While aperture is the primary driver of depth of field, other factors also play a role:
Focal Length: Longer lenses (e.g., 85mm or 200mm) produce a shallower depth of field compared to shorter lenses (e.g., 24mm or 35mm) at the same aperture. For instance, a 50mm lens at f/2.8 will have a narrower depth of field than a 24mm lens at f/2.8.
Subject Distance: The closer your subject is to the camera, the shallower the depth of field becomes. For example, photographing a flower a few inches away at f/2.8 will result in a very narrow focus plane, while the same aperture used for a subject 10 feet away will yield a slightly deeper focus area.
Lens Design: Different lenses have unique optical characteristics that affect depth of field. Prime lenses with wide maximum apertures (e.g., f/1.4 or f/1.8) are prized for their ability to create dramatic bokeh, while zoom lenses may offer more flexibility but less pronounced background blur.
Practical Tips for Using Aperture Creatively
Experiment with Portraits: Try shooting a portrait at f/1.8 to create a beautifully blurred background that makes your subject pop. Then, switch to f/8 and notice how more of the background comes into focus. Compare the results to understand aperture’s creative impact.
Master Landscape Photography: For sweeping vistas, use a narrow aperture like f/11 or f/16 to ensure both foreground and background details are sharp. Use a tripod if the smaller aperture requires a slower shutter speed to avoid camera shake.
Control Light in Low-Light Settings: In dim environments, a wide aperture (e.g., f/2.8 or lower) can help you capture well-exposed images without relying heavily on high ISO settings, which can introduce noise.
Understand Your Lens: Not all lenses perform equally at every aperture. Some lenses are sharpest at mid-range apertures (e.g., f/5.6 or f/8), while others excel wide open. Test your lens to find its “sweet spot” for optimal sharpness and clarity.
Balance the Exposure Triangle: Adjusting aperture affects the other elements of the exposure triangle. For example, using a wide aperture in bright light may require a faster shutter speed or lower ISO to prevent overexposure. Practice balancing these settings to achieve your desired look.
Mastering aperture is a game-changer for photographers, whether you’re shooting on a vintage film camera or a cutting-edge digital model. By understanding how aperture affects both exposure and depth of field, you can make intentional choices to bring your creative vision to life. Experiment with different f-stops, observe how they transform your images, and practice balancing aperture with shutter speed and ISO. Over time, you’ll develop an intuitive sense of how to use the exposure triangle to capture the perfect shot in any scenario.
For a hands-on demonstration, check out our accompanying instructional video, where we break down aperture settings using a 50mm lens and show real-world examples of how f/2.8 versus f/11 changes your images. Start experimenting today, and watch your photography skills soar!

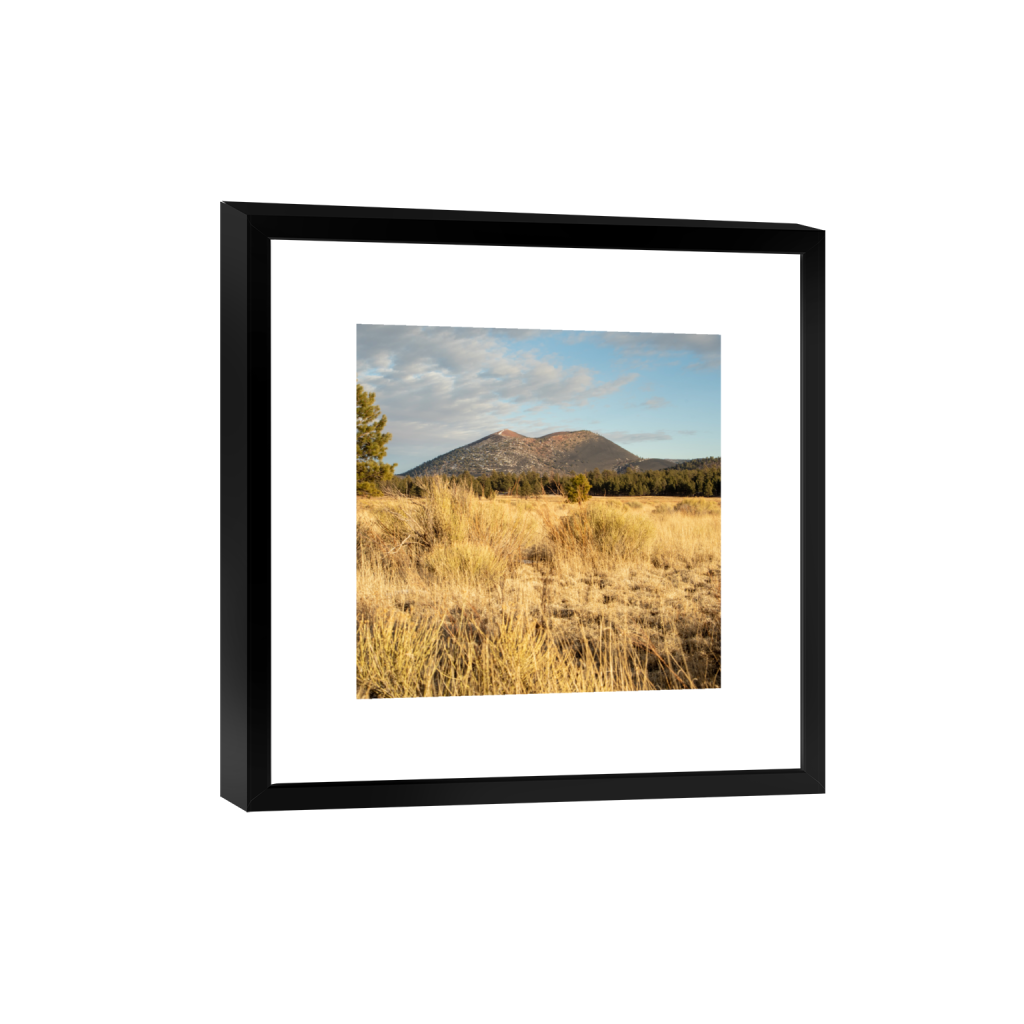
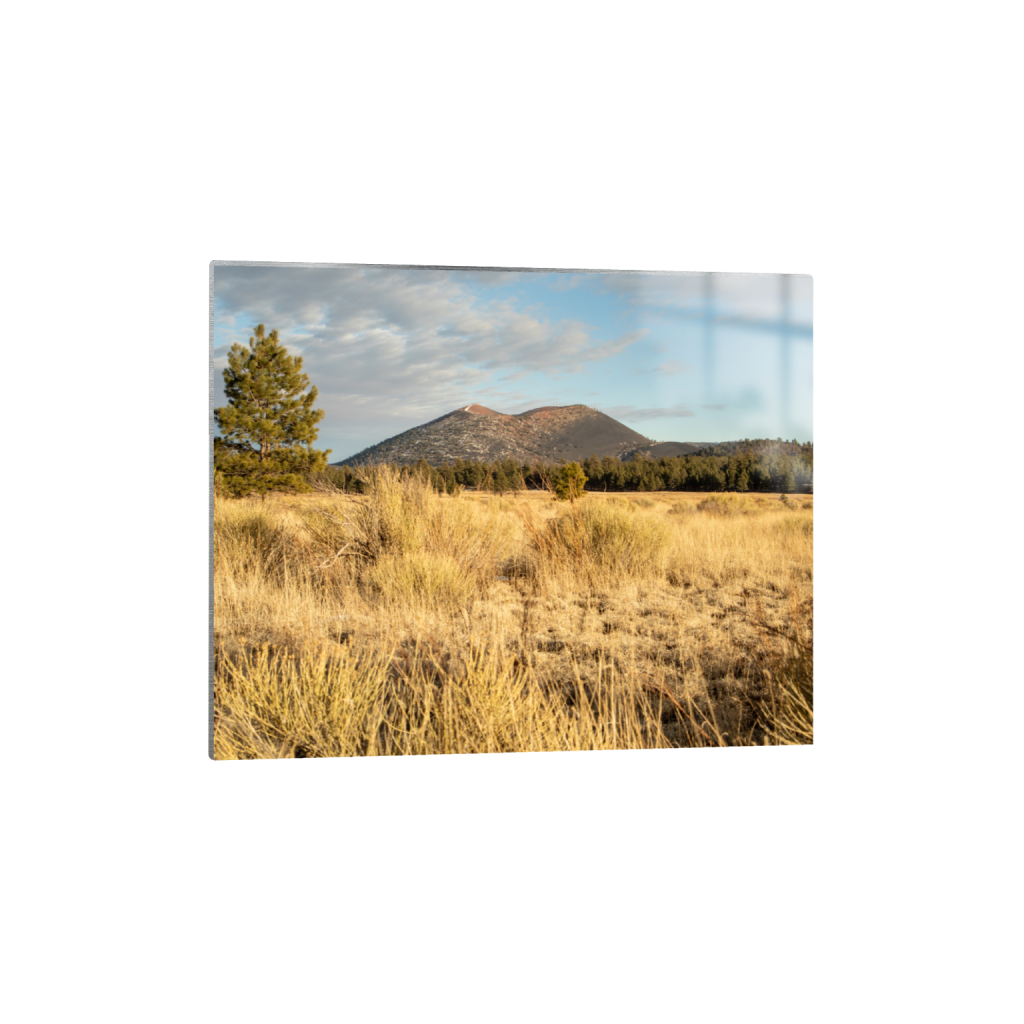
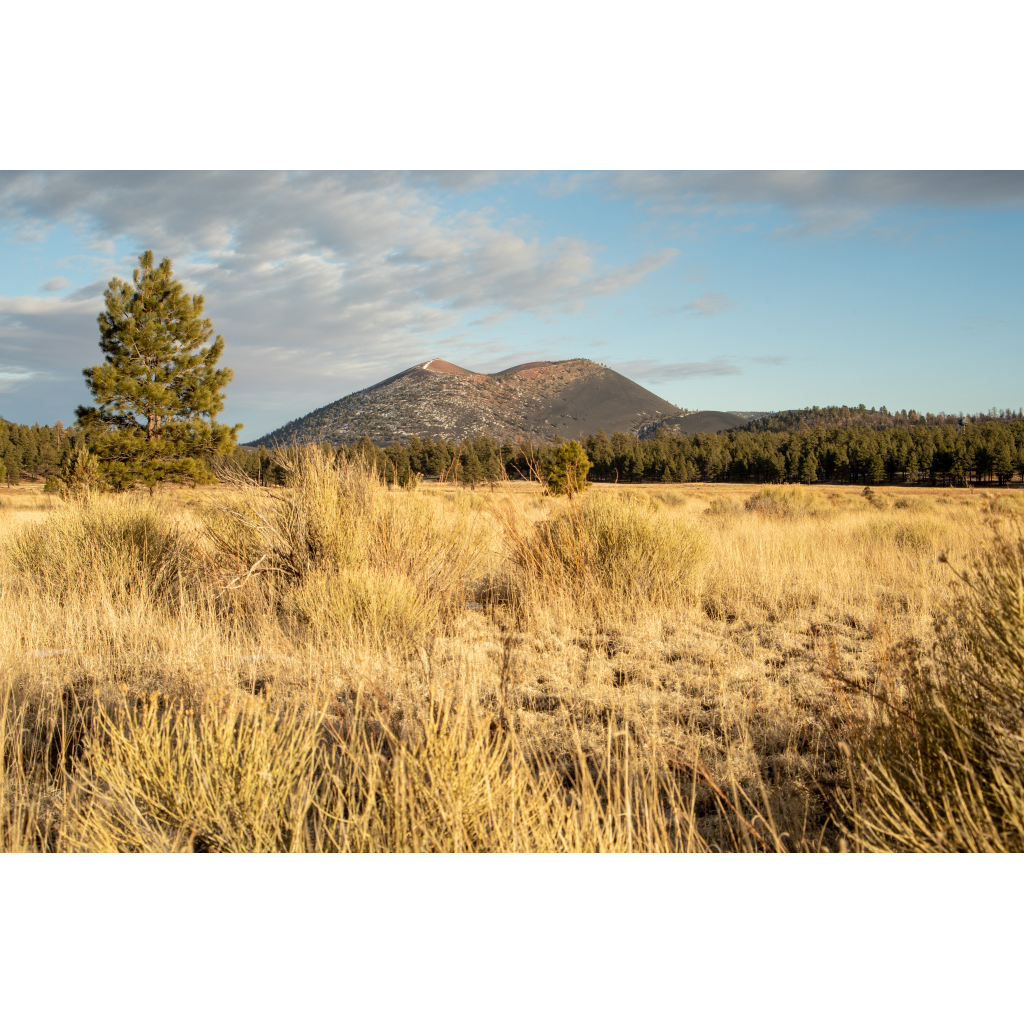
Sunset Crater Volcano
Photographing Sunset Crater Volcano is like capturing the vivid palette of a master artist at work. As the sun dips below the horizon, the cinder cone transforms into a canvas of deep oranges and purples, with shadows dancing across the rugged terrain and a dusting of snow. The contrasting textures of the black volcanic rock against the overcast sky creates a stunning visual symphony, challenging the limits of perception and inviting a playful exploration of line and form. Each click of the shutter is an exhilarating reminder that beauty can thrive in the starkest of landscapes, leaving us to ponder the wonders of nature, even when sight becomes a fleeting memory.
On Sunday, Deana and I eagerly headed up to the charming town of Flagstaff to do some shopping for her. Flagstaff is truly an amazing place that we both thoroughly enjoy exploring together. There is so much to see and do around Flagstaff, from quaint shops to scenic views. After our adventurous shopping excursions, we decided to venture over to the Majestic Sunset Crater Volcano, a stunning location where life continues to spring up vibrantly amongst the rugged cinders of a volcanic eruption that occurred way back in 1085 A.D. According to Wikipedia:
The date of the eruptions that formed the 340-meter-high cone (1,120 ft) was initially derived from tree-ring dates, suggesting the eruption began between the growing seasons of AD 1064–1065.[7] However, more recent geologic and archaeological evidence places the eruption around AD 1085.[8] The largest vent of the eruption, Sunset Crater itself, was the source of the Bonito and Kana-a lava flows that extended about 2.5 kilometers (1.6 mi) northwest and 9.6 kilometers (6 mi) northeast, respectively. Additional vents along a 10-kilometer-long fissure (6.2 mi) extending southeast produced small spatter ramparts and a 6.4-kilometer-long lava flow (4 mi) to the east. The Sunset Crater eruption peaked at VEI 4 (Sub-Plinian), produced a total 0.52 km3 of ejecta,[9] had an eruption column between 20-30km tall[10] and produced a blanket of ash and lapilli covering an area of more than 2,100 square kilometers (810 sq mi), which forced the temporary abandonment of settlements of the local Sinagua people.
As we approached the volcano, my jaw dropped. The view from the open fields in front of the park were picturesque. There was a light dusting of snow atop the crater. We had hoped for more snow, but it was still breathtaking. I got out my now trust Sony A7Cii and Soligor 35*70mm f2.5 lens and went to work. Deana yelled at me at one point, because I had disappeared in the golden grasses. I get very excited about taking photographs, like a sniper crawling around on the ground, looking for the right vantage point. But, I am looking for just the right perspective and composition.
We continued on into the expansive park, fully embracing the captivating pastoral scenes as well as the more somber, charred remnants of burned trees and winding lava flows that told a story of their own. I found myself contemplating what it must have been like when this mighty volcano erupted in its fiery glory. The sunset, while somewhat mediocre at best, did not dampen our spirits; we made the most of it and joyfully headed home after a few hours of wandering amongst the rugged cinders and ancient lava flows. I could not recommend this enchanting place enough. There is truly so much to do in this vibrant area and an abundance of incredible sights to behold, each more mesmerizing than the last.


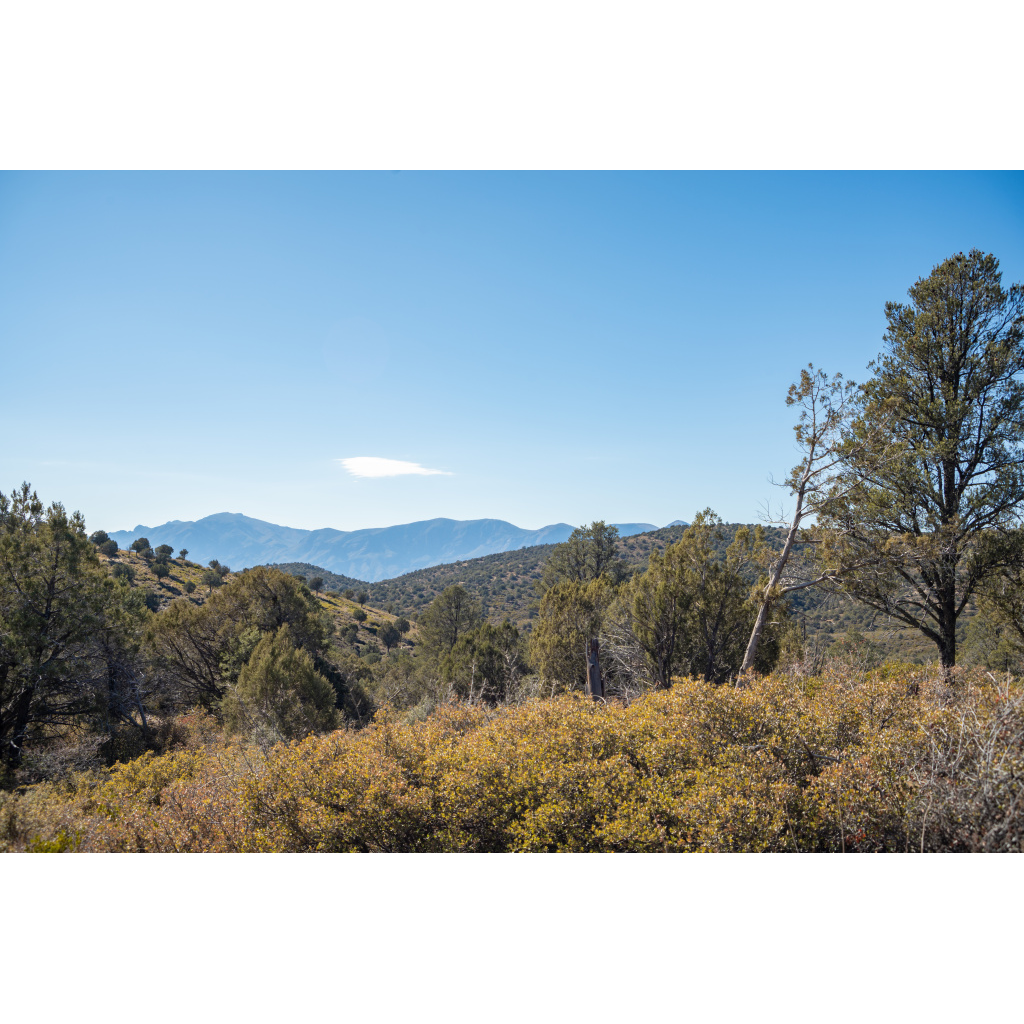
Peach Orchard Loop
Hiking the Peach Orchard Loop in the Tonto National Forest is an exhilarating adventure that awakens the senses. The trail weaves through the mountains and up them to a ridge and fire road.
When I got up this morning, I realized that I had the day off. I have been thinking about going hiking since we moved to Payson, Arizona, but I never seemed to have the time when I felt like going. Today, I decided I was going. Deana went off to work, so there was no reason I should not go. It was a beautiful day with some rare warm winds up here at 5,000 feet.
At present, I don’t have any autofocus lenses for the Sony A7C ii. So, looked over my m42 and k-mount lenses. What I’d love to have is a 24-70mm f/2.8 lens, but I don’t have that kind of money to throw around. I settled on a 1980’s Soligor 35-70mm f/2.5-3.5 variable aperture zoom lens. It’ is a lens that I have tested. It is not as sharp as a new lens, but for its age and uniqueness as having a macro extension tube built in, it’s a great little versatile lens.
I grabbed that trusty camera and lens combo, along with an extra Pentax 28mm f/3.5 lens as a backup just in case, and headed eagerly out the door. I hopped on my XP 3.0 Lectric bike and sped down the paved road to the trail head, which was conveniently located across the street from the beautiful Payson Golf Course. I had not yet explored this particular trail, so I had to rely on the All Trails app for information about the loop and its various features along the way.
As I started my adventurous journey down the fire road/trail, I couldn’t help but laugh at how easy this loop seemed to be thus far, which led me to believe that I’d be home in time for a delicious lunch. The views surrounding me were breathtaking, and they were absolutely well worth the hike, making every step feel rewarding. However, in a moment of distraction, I missed my turn and accidentally ventured an extra quarter mile down the fire road before the realization hit me like a ton of bricks. After a brief moment, I backtracked and managed to get back on the intended trail. Yet, within just a few hundred feet of finally arriving on the trail, I quickly realized it wouldn’t be so easy after all. The fire roads are comprised of gravel and are generally easily traversed, but I had a feeling my adventure was just beginning!

The trail that cuts between the fire roads is extreme. All trails stated that it was moderate. Sure, the rest of the trail is moderate, but the very steep incline halfway through the loop is extreme. I used to hike three times a week with people younger than me and army rangers, but this trail would be a struggle for them. I’m older now and a bit out of shape. The “Trail” was literally a wall of rock and dirt that I had to gradually crawl up.
The ascent of the steep incline took an hour, but the panoramic views ultimately justified the effort. I was astounded by the extent of my visual acuity, even in my state of blindness, and the distance I had traveled from the town. Despite the exhaustion, I found myself in a state of laughter and exhilaration. I had conquered a mountain, experiencing solitude, divine presence, and the profound beauty of nature. The ceaseless hum of Main Street, the dazzling lights, and the relentless roar of passing cars were mere echoes in the valley below. I stood there, momentarily overwhelmed with gratitude for the gift of sight and the splendor of our world. While some may perceive this place as mere sand, brush, withered trees, and barren mountains, I see it as a living, breathing entity brimming with life, beauty, and the awe-inspiring Majesty of God.
After catching my breath, I headed down another fire road that traverses the ridge and leads back down to the trail head. It was getting late and I was getting sore, so it took me a little bit. I did make it home in time to meet Deana for lunch and enjoy each others company. The loop was supposed to take an hour and a half. It took me 2:40. Mind you, I stopped a lot to take photographs. I ended up hiking 3.4 miles around the loop, given I had missed a turn and had to turn back.
I will pay for my adventures tomorrow, but it was worth it. Spending time in nature is important, and it is good exercise. And, I got some amazing photographs out of it. There will be a gallery below. Please give them a look and let me know what you think about my adventure and the photography.


Blind Photography Podcast Episode 1
In this exciting first episode of Blind Photography, I delve into the journey of how I lost my long-held passion for photography, a love I nurtured since I was a child, and the remarkable way I managed to reignite that spark. This episode is packed with personal stories and insights, so be sure to stay tuned for upcoming episodes that promise to be just as enlightening and entertaining. You'll be able to find this podcast on iTunes within the next few days, so don't miss out! Thank you for joining me on this adventure.
In this exciting first episode of Blind Photography, I delve into the journey of how I lost my long-held passion for photography, a love I nurtured since I was a child, and the remarkable way I managed to reignite that spark. This episode is packed with personal stories and insights, so be sure to stay tuned for upcoming episodes that promise to be just as enlightening and entertaining. You'll be able to find this podcast on iTunes within the next few days, so don't miss out! Thank you for joining me on this adventure.